mirror of
https://github.com/kxgx/2.13-Ink-screen-clock.git
synced 2026-03-15 07:03:16 +08:00
105 lines
4.1 KiB
Markdown
105 lines
4.1 KiB
Markdown
首先感谢上游https://github.com/Seek-Huang/2.13-Ink-screen-clock 的代码
|
||
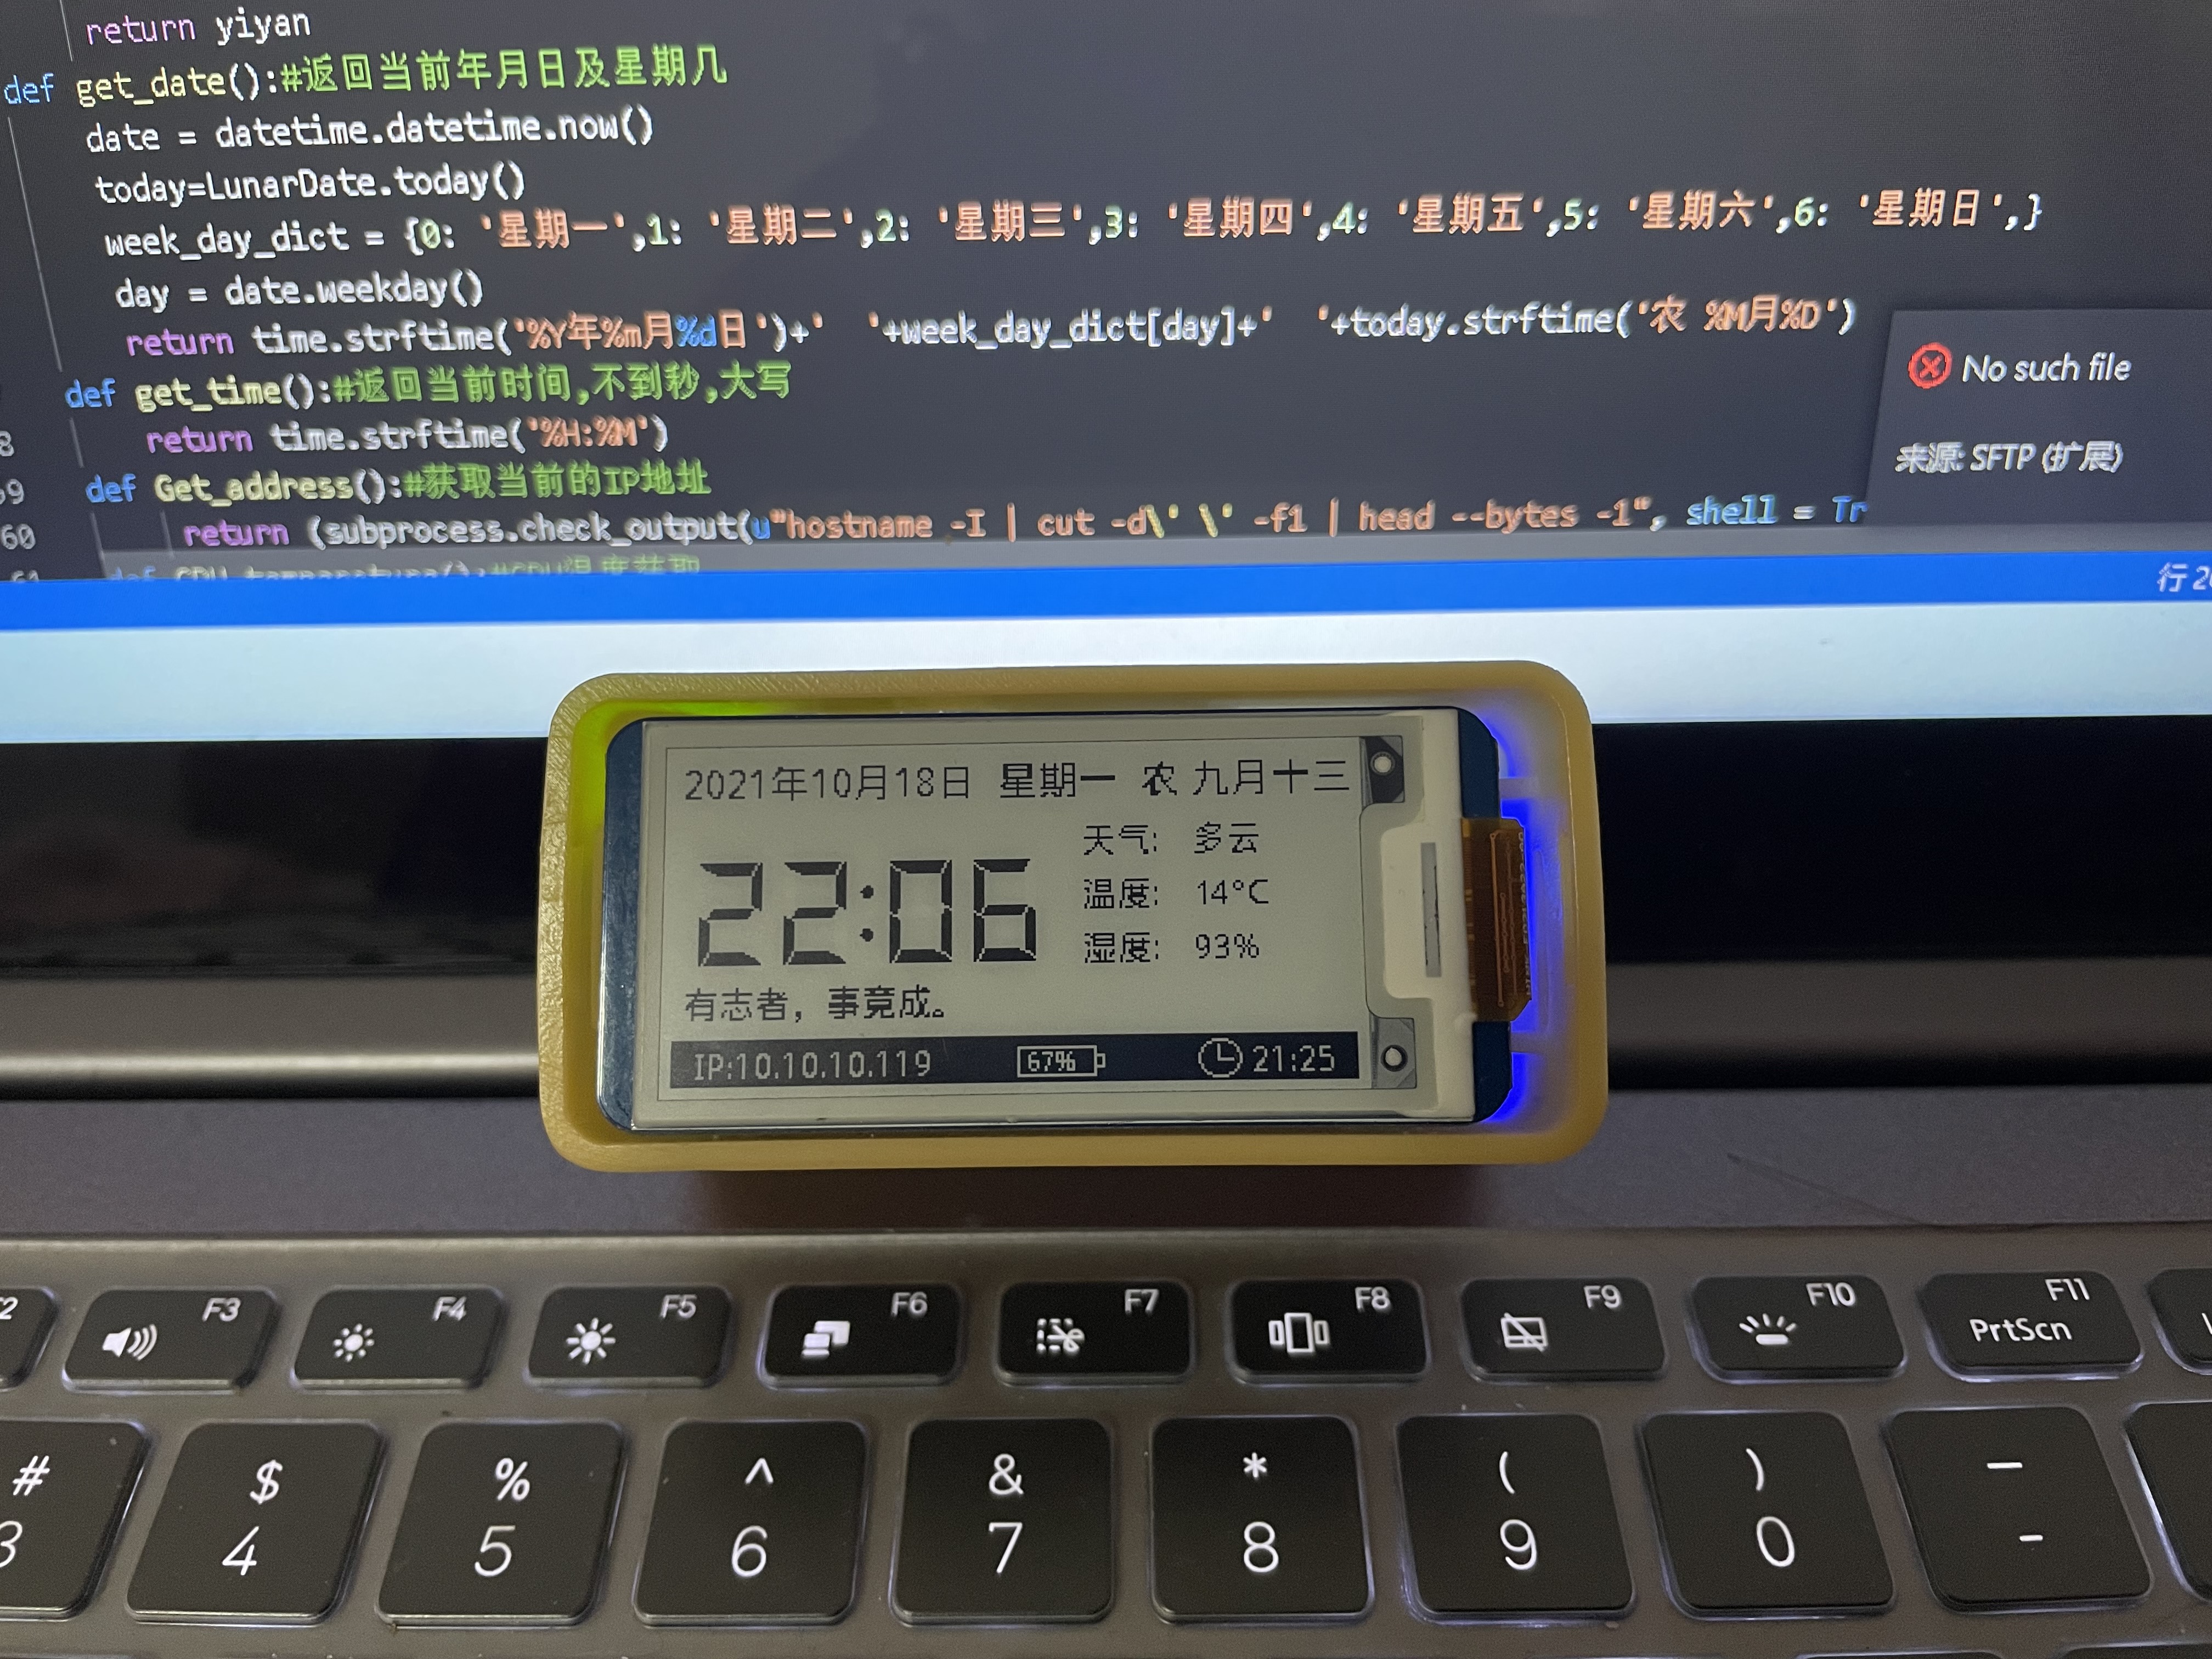
# 墨水屏展示当前时间及天气数据
|
||
|
||
## API说明:
|
||
|
||
#### 一言API
|
||
此网站可以获取指定长度指定类型的一个句子,可以限定返回长度及返回类型
|
||
|
||
https://international.v1.hitokoto.cn/?c=a&encode=text&max_length=20
|
||
|
||
#### 天气API
|
||
获取的天气是通过网页的接口,获取的内容保存在当前目录下的json文件接口的地址是在这里抓取的
|
||
|
||
http://www.weather.com.cn/
|
||
|
||
在控制台f12就可以抓取到
|
||
手动伪造一个来源即可正常的获取到该数据内容
|
||
|
||
### 外壳及电池模块
|
||
使用的是PiSugar3的外壳,获取电源及树莓派(Raspberry)RTC时间都是靠这一部分模块完成的,附上github地址
|
||
|
||
https://github.com/PiSugar/PiSugar/wiki/PiSugar-3-Series#rtc-on-board
|
||
https://www.pisugar.com/
|
||
|
||
ps:如果没有使用此模块则需要更改代码内容,以避免运行出错。
|
||
|
||
ps:代码里需要nc命令需要安装netcat,安装内容已集成到“需要安装的软件“https://github.com/kxgx/2.13-Ink-screen-clock#%E9%9C%80%E8%A6%81%E5%AE%89%E8%A3%85%E7%9A%84%E8%BD%AF%E4%BB%B6
|
||
|
||
### 墨水屏2.13inch e-Paper HAT+硬件连接
|
||
连接树莓派的时候,可以直接将板子插到树莓派的 40PIN 排针上去,注意对好引脚。
|
||
|
||
### 开启SPI接口:
|
||
打开树莓派终端,输入以下指令进入配置界面:
|
||
sudo raspi-config
|
||
选择Interfacing Options -> SPI -> Yes 开启SPI接口
|
||

|
||
|
||
#### 按需开启
|
||
PiSugar 3 板载一个 RTC,可以通过 hwclock 轻松使用
|
||
将以下内容写入/boot/firmware/config.txt文件:
|
||
```Bash
|
||
dtoverlay=i2c-rtc,ds3231
|
||
```
|
||

|
||
|
||
### 重启树莓派:
|
||
sudo reboot
|
||
检查 /boot/config.txt,可以看到 'dtparam=spi=on' 已被写入
|
||
|
||

|
||
|
||
为了确保 SPI 没有被占用,建议其他的驱动覆盖暂时先关闭。可以使用 ls /dev/spi* 来检查 SPI 占用情况,终端输出 /dev/spidev0.0 和 /dev/spidev0.1 表示 SPI 情况正常
|
||
|
||

|
||
|
||
#### 需要安装的软件:
|
||
参考微雪电子https://www.waveshare.net/wiki/2.13inch_e-Paper_HAT+#Raspberry_Pi
|
||
```Bash
|
||
## Python3
|
||
sudo apt-get update
|
||
sudo apt-get install -y python3-pip
|
||
sudo apt-get install -y python3-pil
|
||
sudo apt-get install -y python3-numpy
|
||
sudo apt install -y python3-gpiozero
|
||
sudo apt-get install -y netcat*
|
||
sudo pip3 install spidev --break-system-packages
|
||
## Python2
|
||
sudo apt-get update
|
||
sudo apt-get install -y python-pip
|
||
sudo apt-get install -y python-pil
|
||
sudo apt-get install -y python-numpy
|
||
sudo apt install -y python-gpiozero
|
||
sudo apt-get install -y netcat*
|
||
sudo pip install spidev --break-system-packages
|
||
```
|
||
也可以
|
||
```Bash
|
||
## Python3
|
||
sudo apt-get update && sudo apt-get install -y python3-pip && sudo apt-get install -y python3-pil && sudo apt-get install -y python3-numpy && sudo apt install -y python3-gpiozero && sudo apt-get install -y netcat* && sudo pip3 install spidev --break-system-packages
|
||
## Python2
|
||
sudo apt-get update && sudo apt-get install -y python-pip && sudo apt-get install -y python-pil && sudo apt-get install -y python-numpy && sudo apt install -y python-gpiozero && sudo apt-get install -y netcat* && sudo pip install spidev --break-system-packages
|
||
```
|
||
|
||
#### 需要安装的依赖:
|
||
```Bash
|
||
pip3 install borax pillow threading requests --break-system-packages
|
||
```
|
||
|
||
总体采用局刷方案,程序运行后一直处于程序的获取新数据的过程中,当发现数据变化后即开始自动局刷。
|
||
|
||
|
||
|
||
启动:
|
||
在文档中的***bin***文件夹下存在有start.sh文件,执行
|
||
```Bash
|
||
chmod +x start.sh
|
||
```
|
||
授权, 直接运行start.sh时间即可
|
||
```Bash
|
||
./start.sh
|
||
```
|
||
特别注意:
|
||
在代码文件第三十三行,此次代码需要更改,否则将展示默认城市天气数据
|
||
|